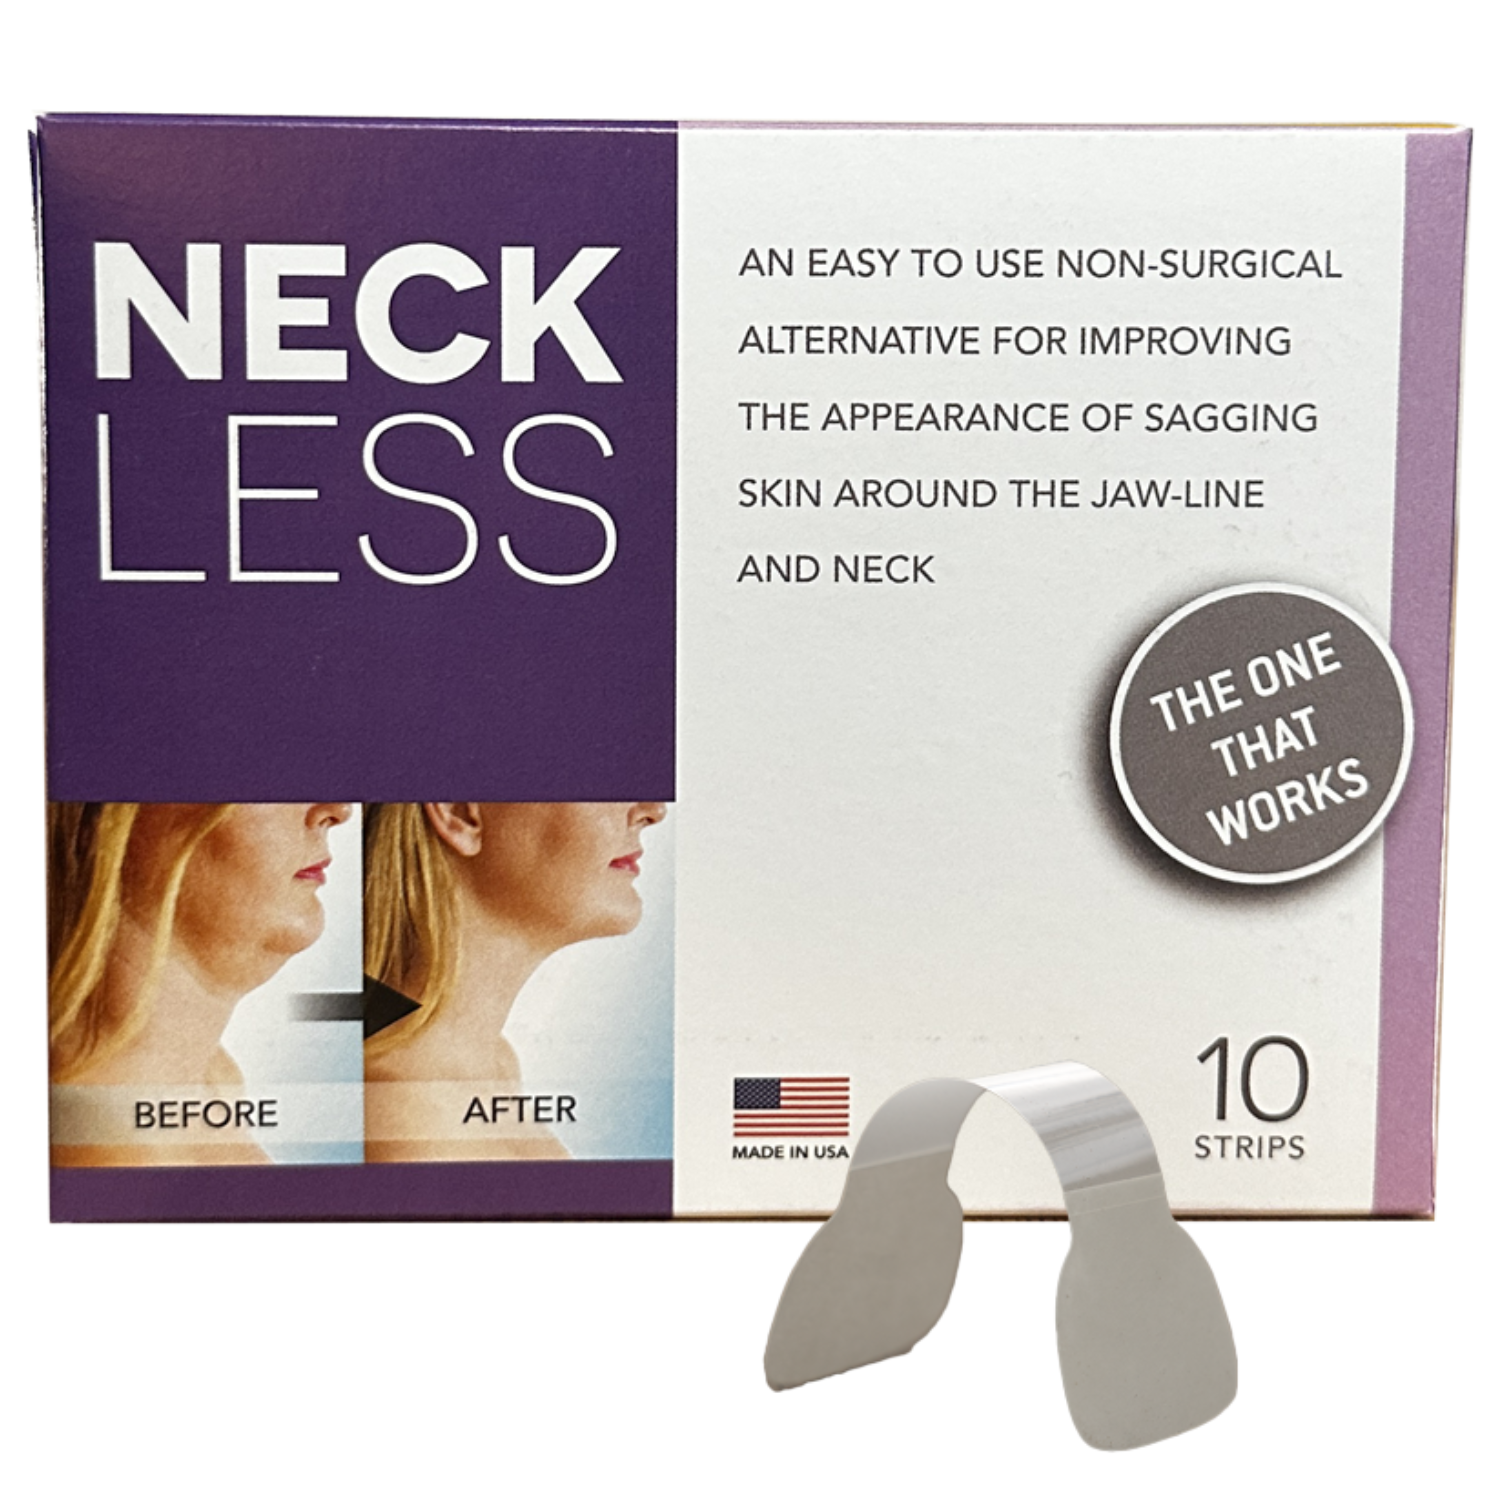
How to Apply Neck Less Lifting Strips
Welcome to your all-in-one guide for using Neck Less' products. Below are the simple steps and tips to help you get the best results. Our goal is to empower you with clear guidance – so you can confidently use Neck Less with a clean, minimalist routine that fits your life.


1. Start with clean, dry skin.
Make sure your neck is free of any oils, creams, or makeup before applying a strip. This ensures the medical-grade adhesive bonds well for all-day hold.
2. Position and apply one end.
Looking straight ahead, turn your head slightly and anchor one end of the strip on one side of the back of your neck (near or behind your ear/hairline). Press it firmly onto the skin.
3. Gently pull and secure
Using your fingers, gently pull the loose end of the strip across the back of your neck, slightly lifting the skin to the desired tautness. Secure the other end on the opposite side of your neck. Press down along the strip to smooth it out and ensure it sticks well (you should feel a mild tightening as it holds the skin).
4. Conceal the strip.
Once applied, the strip is nearly invisible. If you have short hair, you can style your hair or wear a high-collar top or scarf to hide the strip if any part is visible. This way you get a “lifted” look without anyone knowing your secret!
5. Removal
At the end of the day (or whenever you’re done using it), do not rip it off quickly like a bandage. Instead, use your fingertip to slowly peel up one end of the strip and gently pull it off. For a gentler removal, you can massage a little mineral oil or alcohol under the strip as you peel to help release the adhesive. Each strip is intended for one-time use only – discard it after removal.